
The idea to make honey badger came from a Facebook group I'm in for softie designers - with a challenge to create a stuffed animal from a bandana. I had two bandanas sitting in a back drawer. I've often looked at them when I sort through my clothes and have thought - I don't ever wear these, should I get rid of them? But both of them were gifts from special people, one from my mother and one from my grandma, so I didn't want to throw them out. This challenge seemed like the perfect opportunity to make them into something I would actually use.
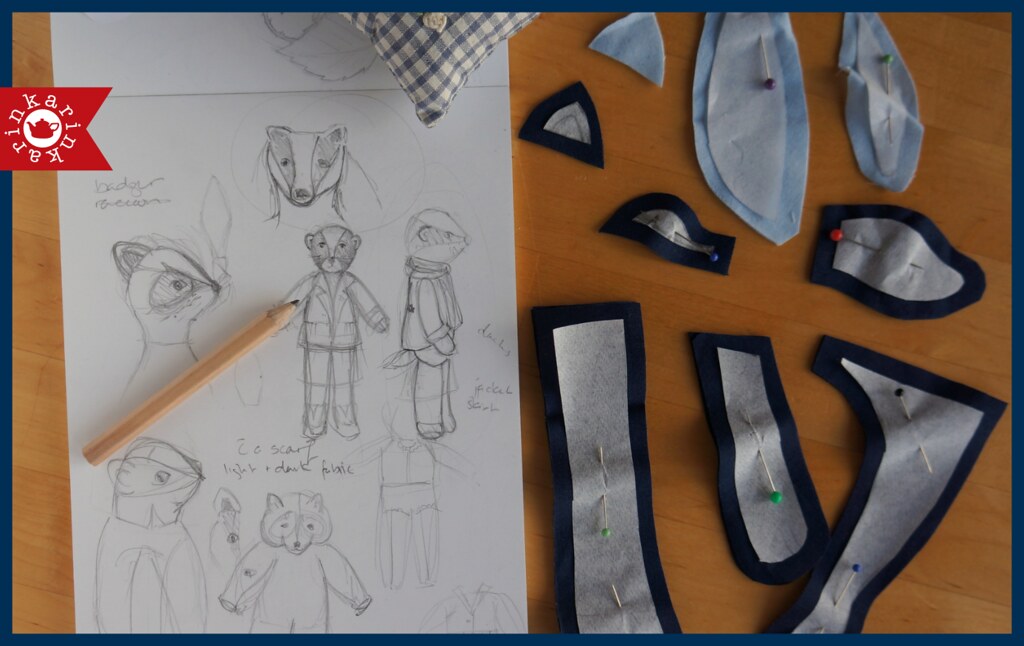
I started the design process by sketching badgers, thinking about what elements of a badger I wanted to use and trying to find an overall cohesive look for the stuffed animal, with preliminary thoughts about clothes, facial expression etc. Because I already knew what fabric I would be using, I also thought about what parts of the fabric I would use where, to create the light and dark markings of a badger. The basic shape of the animal was based on an earlier stuffed animal I created, the fox.
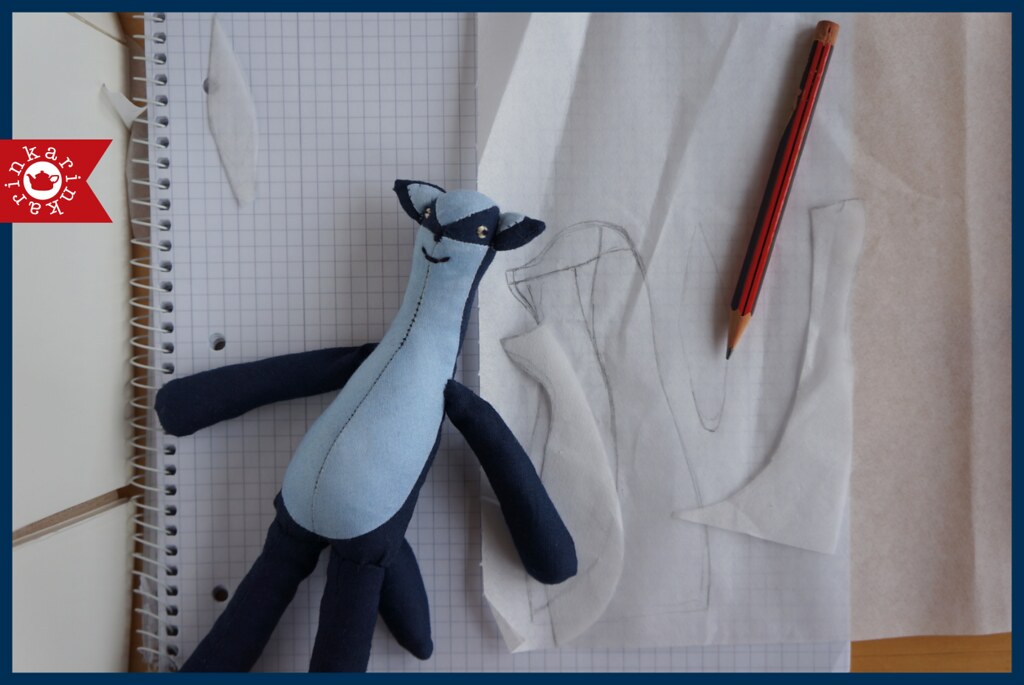
First I sewed a prototype. In order to get my head around sewing a 3D shape, I needed to actually try it out. Although the body is based on my fox, I made changes to the shape of the head, neck and stomach area, which meant more pattern pieces and experimenting with how changing the shape of a pattern piece would affect the shape of the badger.
I'm glad I made a prototype. It helped me figure out the optimal spot for the ear placement (I changed and lengthened a seam so that the ear could be placed along a seam), and it helped me visualise how a different shaped head gusset would change the shape of the face. The prototype's face was too flat, so I adjusted the pattern pieces accordingly.
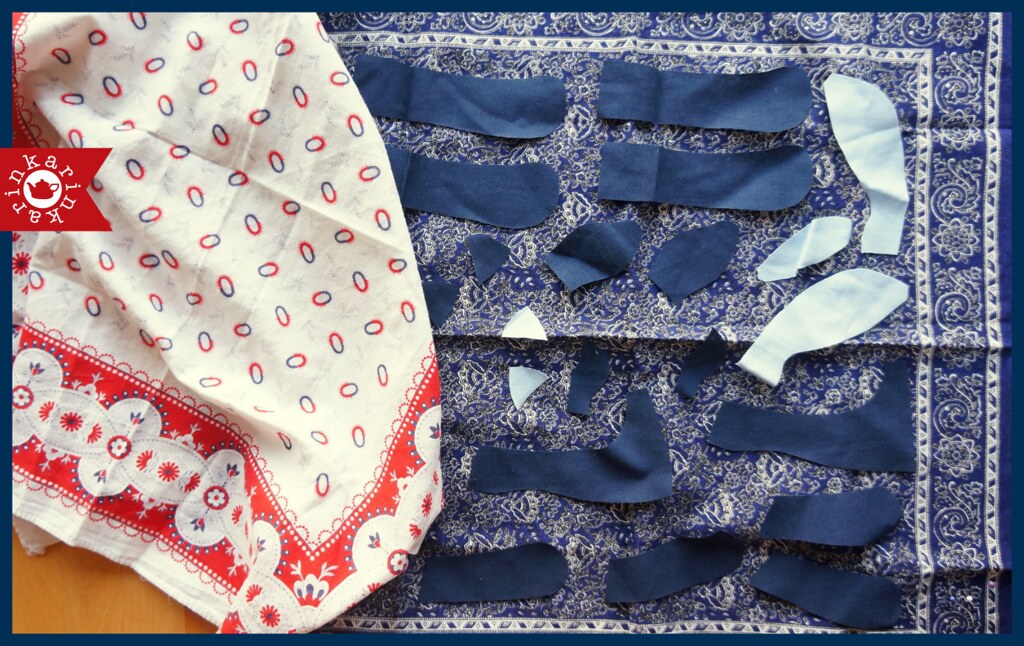
This is the fabric I used for the honey badger. The bandana on the left is from The Netherlands, I got it from my mother years ago. The bandana on the right is from Canada, my grandma gave it to me about 15 years ago. Here I laid out all the pattern pieces on the fabric to check how much fabric I would need. I ended up making the final honey badger twice as big as a the prototype.
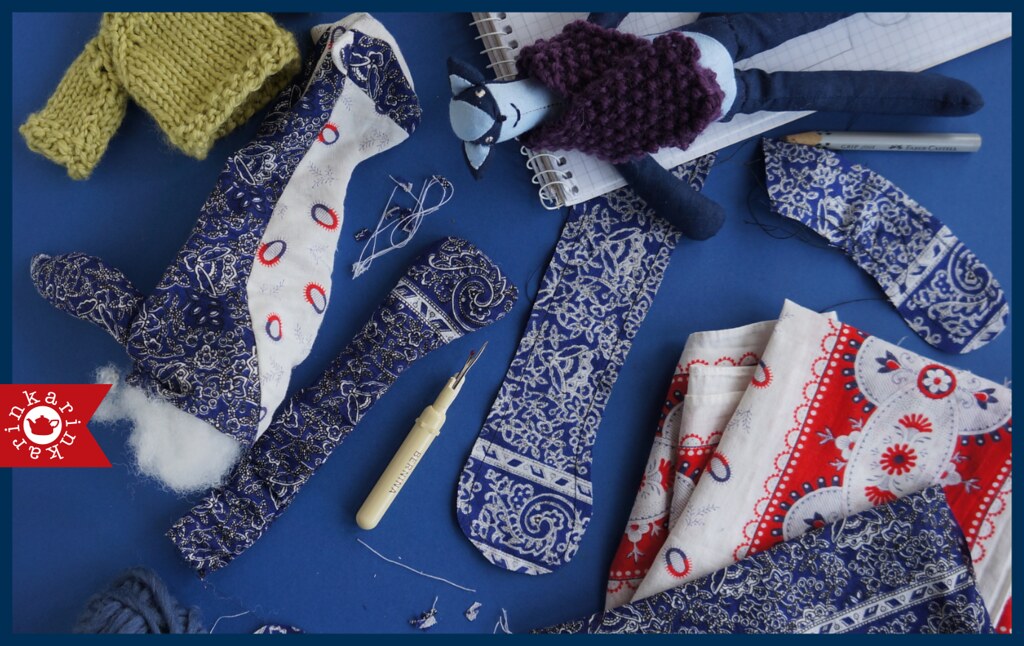
Here the honey badger is starting to come together. I got a bit carried away in the meantime, knitting a little scarf for the prototype badger, and then a sweater. (I adapted the sweater pattern and made another little cardigan, but that is material for a different post!)
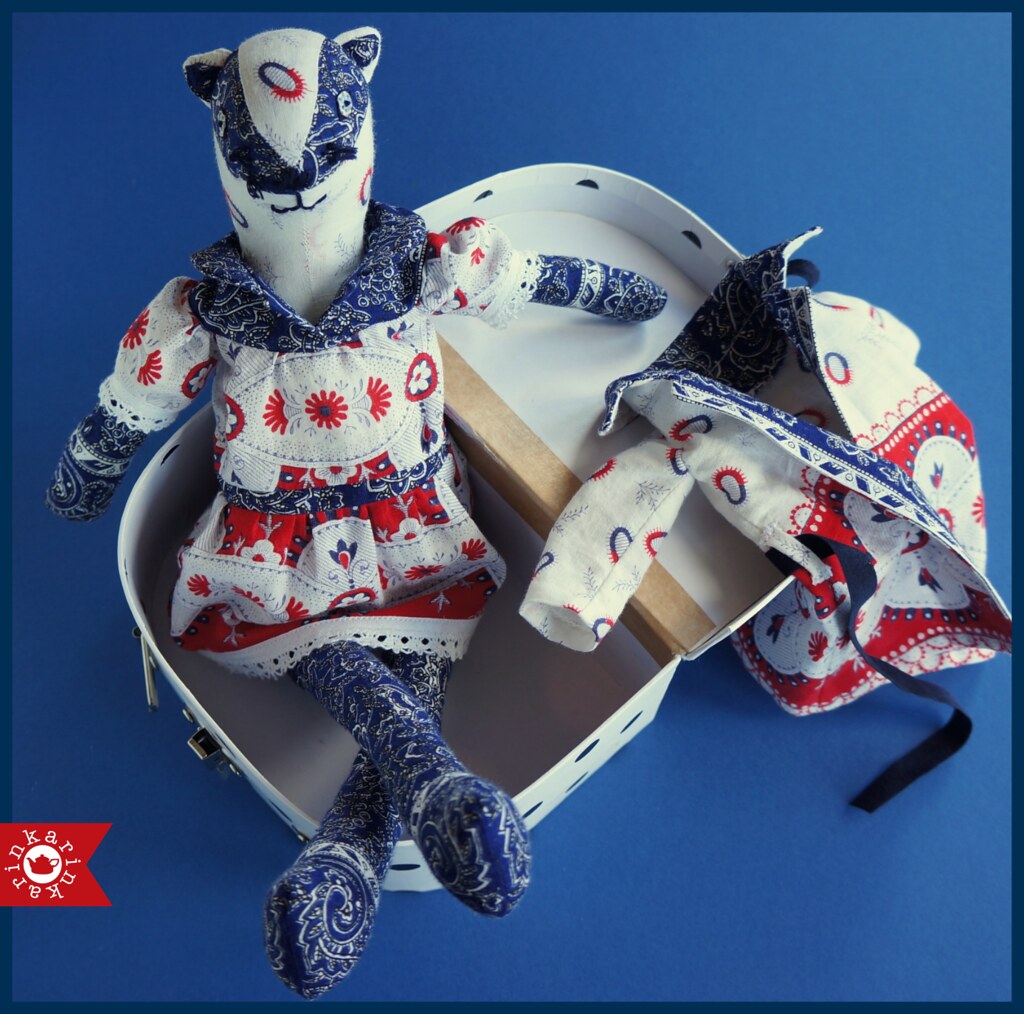
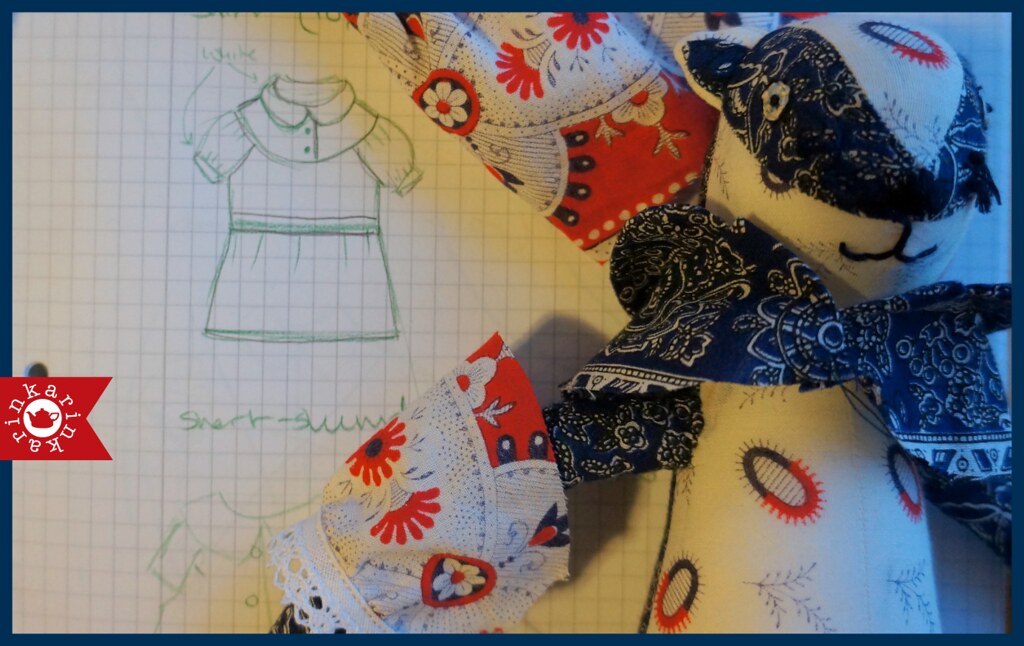
After the badger was all sewn up and stuffed, I sewed on the facial features, embroidering eyes, a nose and mouth and adding some whiskers. Next I needed some clothes. There was still quite a bit of fabric left from my two bandanas, so I planned a little trench coat and a dress. The pattern of the dress started out as a sketch but evolved as I went along and figured out what worked well and what was too hard at this tiny scale.
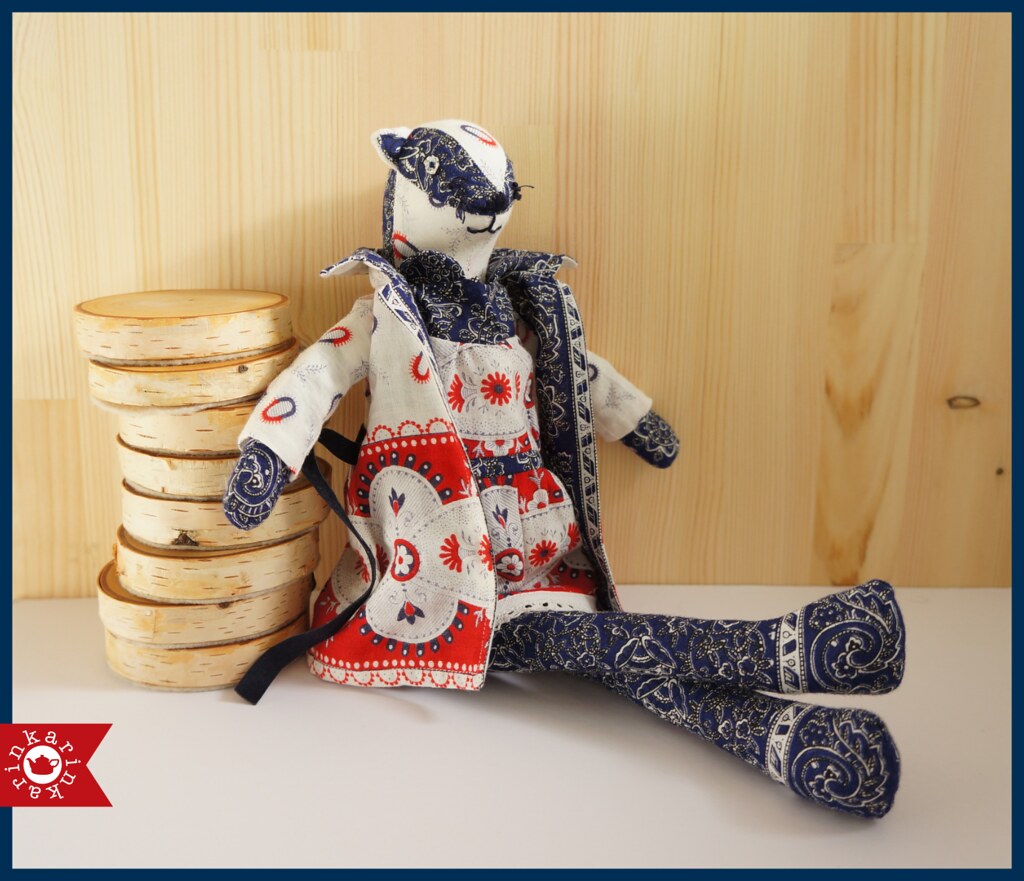
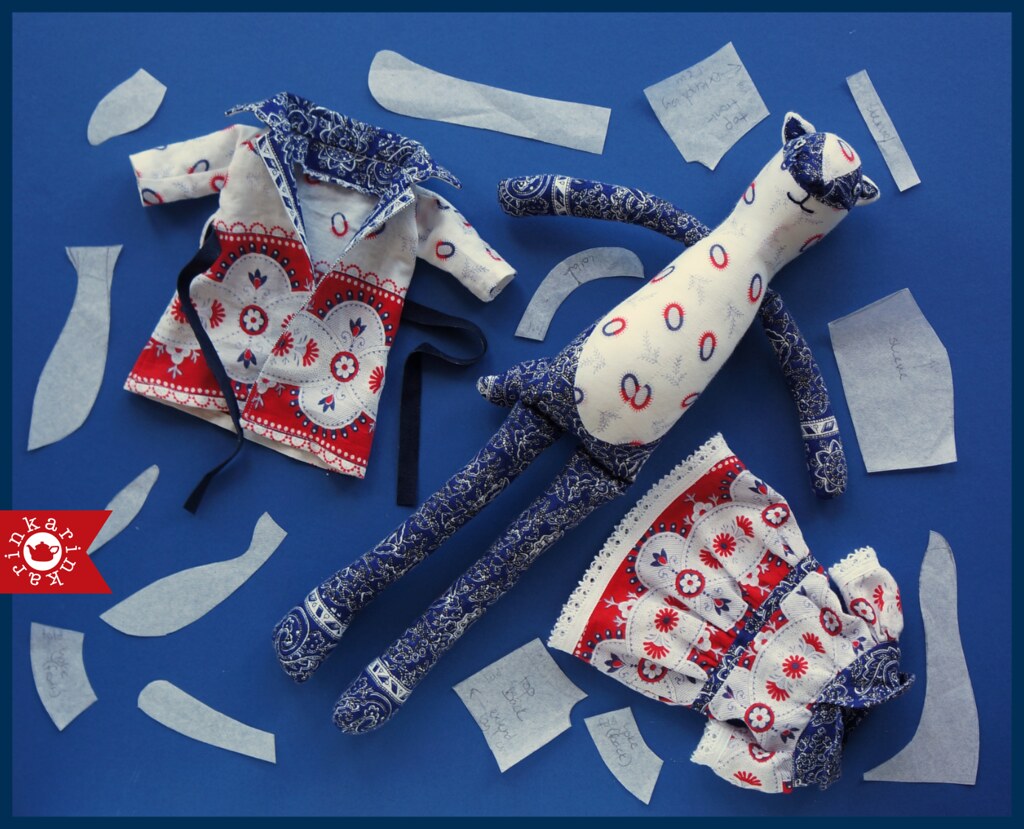
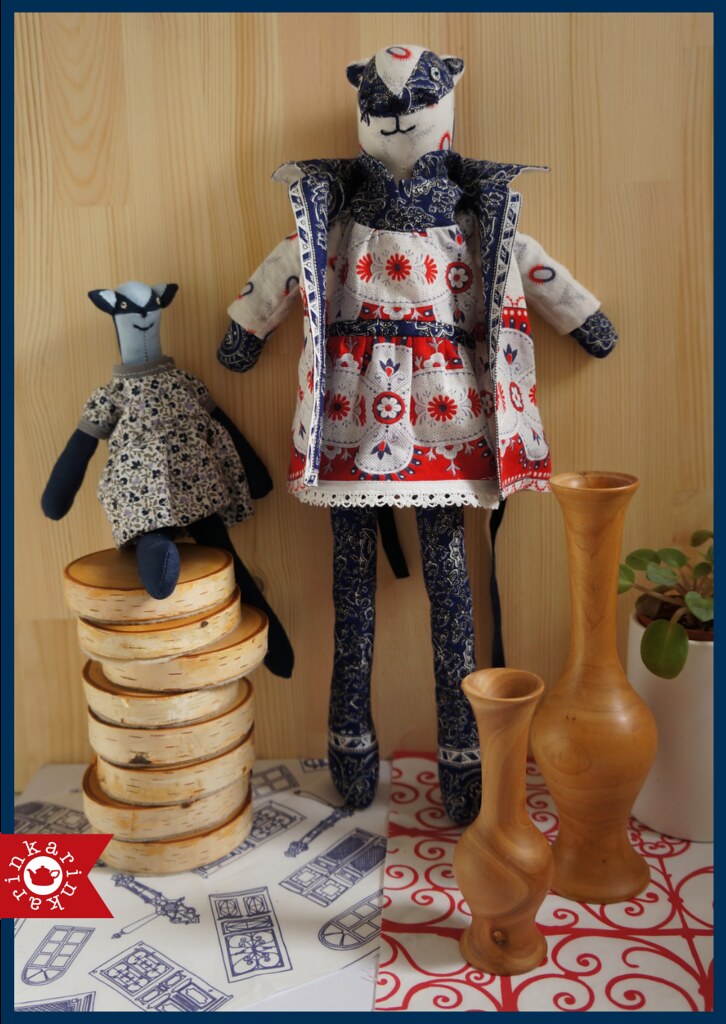
And finally, here is the finished badger with her coat and dress!
This is where I ran out of steam, but I still have dreams and plans for the badger. I took detailed photos of the process and documented all the sewing steps. I also kept and adapted the patterns for the clothes and started designing more. My plan is to adapt this into a cut and sew pattern to sell in my spoonflower shop, and create a detailed photo tutorial to go with the fabric (You can see the cut and sew fox I have for sale here). I thoroughly enjoyed the process, and once again realised how much you learn through actually doing something.
ps. here's a final photo of the honey badger with it's prototype. My daughter has adopted both, calling them mama and baby honey badger.
5 comments:
A most beautiful badger and a most beautiful way to use a bandana!
I loved reading the process and development of your badger but what I really loved is how you took two bandanas which connected you to your mother and grandmother and made them into something special which your daughter now treasures.
Thanks Abby, and thanks for your inspiration to make this! having a challenge is a great incentive to create something.
And thanks Trixi! I love watching her play with them, its a much better use than seeing them every few months.
Karin Elizabeth, this is lovely indeed. The red bandana makes me a little homesick for life as it used to be but to think that now my granddaughter is playing with it, makes me so happy!! Thanks for keeping it. And I am so proud of you for going on with figuring things out on your own; whether turning little wooden vases and polishing them in Canada; sewing badgers from old bandanas in the UK, or writing theses about Tungag pronouns in Heidelberg, there is no end to creativity in your world today!
Nice blog.
Print online
Post a Comment